
No-Bake Biscoff Cheesecake Bars (Easy Cookie Butter Dessert),
Creamy cookie butter cheesecake on a crunchy Biscoff crust: no oven, no water bath, no stress.

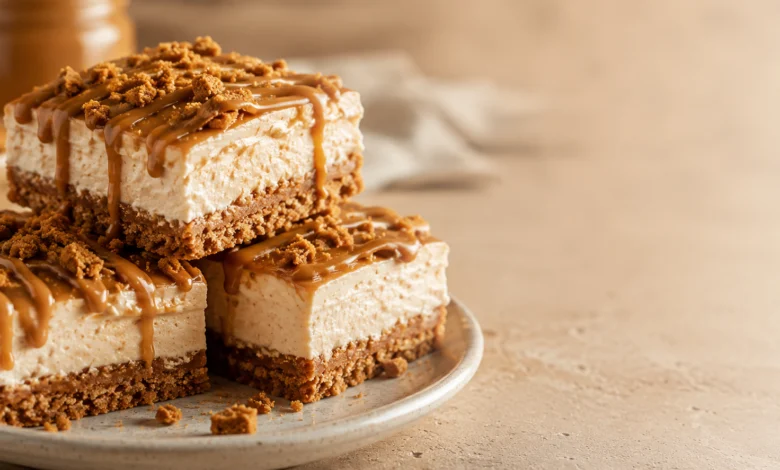
The first time I tried stacking a no-bake cheesecake filling on top of a store-bought crust, it slid apart the second I cut into it. Turns out the crust needed more butter and a proper chill, not less time in the fridge like I’d assumed. That one fix changed everything.
These bars solve the two things people usually get wrong with no-bake cheesecake: a crust that crumbles apart and a filling that never fully sets. Once you get the ratios right, this is genuinely one of the easiest desserts in my rotation, and it happens to be built entirely around Biscoff cookies and Biscoff spread, so the flavor does a lot of the work for you.
You’ll end up with a firm, sliceable bar with a buttery cookie crust, a tangy-sweet cookie butter filling, and a drizzle on top that makes it look like you tried harder than you actually did.
Quick Answer
Crush Biscoff cookies into a buttery crust, press it into a lined pan, and chill it while you whip cream cheese with Biscoff spread, sugar, and whipped cream into a light, stable filling. Spread it over the crust, chill for at least 4 hours (overnight is better), then slice and finish with a warmed Biscoff drizzle and crushed cookies on top.
Difficulty Level
Beginner. There’s no baking involved, and the technique is mostly mixing and chilling. The only real skill is patience: rushing the chill time is the one thing that will actually cause problems.
Recipe Highlights
- No oven required, just a mixing bowl and a pan
- Crunchy Biscoff cookie crust with a creamy, tangy filling
- Make-ahead friendly, this actually improves overnight
- Only 8 main ingredients
- Slices cleanly for parties, potlucks, or freezer stash
Why This Recipe Works
Cream cheese alone can taste flat and a little sour once it’s chilled and cut into bars. Biscoff spread brings warm spice, caramelized sugar notes, and a bit of extra fat, which rounds out that sharpness and gives the filling body. Whipped cream folded in at the end keeps the texture light instead of dense, so it slices like cheesecake instead of eating like fudge.
The crust works the same way pie crusts and graham cracker crusts do: crushed cookies plus melted butter, pressed firm, then chilled until solid. Skip the chill, and the crust stays loose. Give it time in the fridge, and it holds together as a clean base layer.
The 3-Step Plan
Step 1
Make and chill the Biscoff cookie crust.
Step 2
Whip the Biscoff cheesecake filling and spread it over the set crust.
Step 3
Chill until firm, then top with a warm Biscoff drizzle and crushed cookies before slicing.
Ingredient Notes
Biscoff cookies form both the crust and the topping. Buy a little extra since some will get set aside for garnish instead of crushed into crumbs.
Biscoff spread (cookie butter) is the flavor backbone of the filling and the drizzle. Regular Biscoff spread works better here than the crunchy version, since crunchy bits can make the filling harder to spread evenly.
Full-fat cream cheese should be properly softened at room temperature. Cold cream cheese leaves lumps that no amount of mixing fully smooths out.
Heavy cream gets whipped separately and folded in, which is what keeps the filling light instead of dense like a baked cheesecake.
Powdered sugar dissolves into the filling without any graininess, unlike granulated sugar.
Butter for the crust should be melted, not just softened, so it coats the cookie crumbs evenly.
If you don’t have Biscoff spread on hand, a similar cookie butter or even a mild almond butter can substitute in the filling, though the flavor will shift away from that signature caramelized spice.
Ingredients
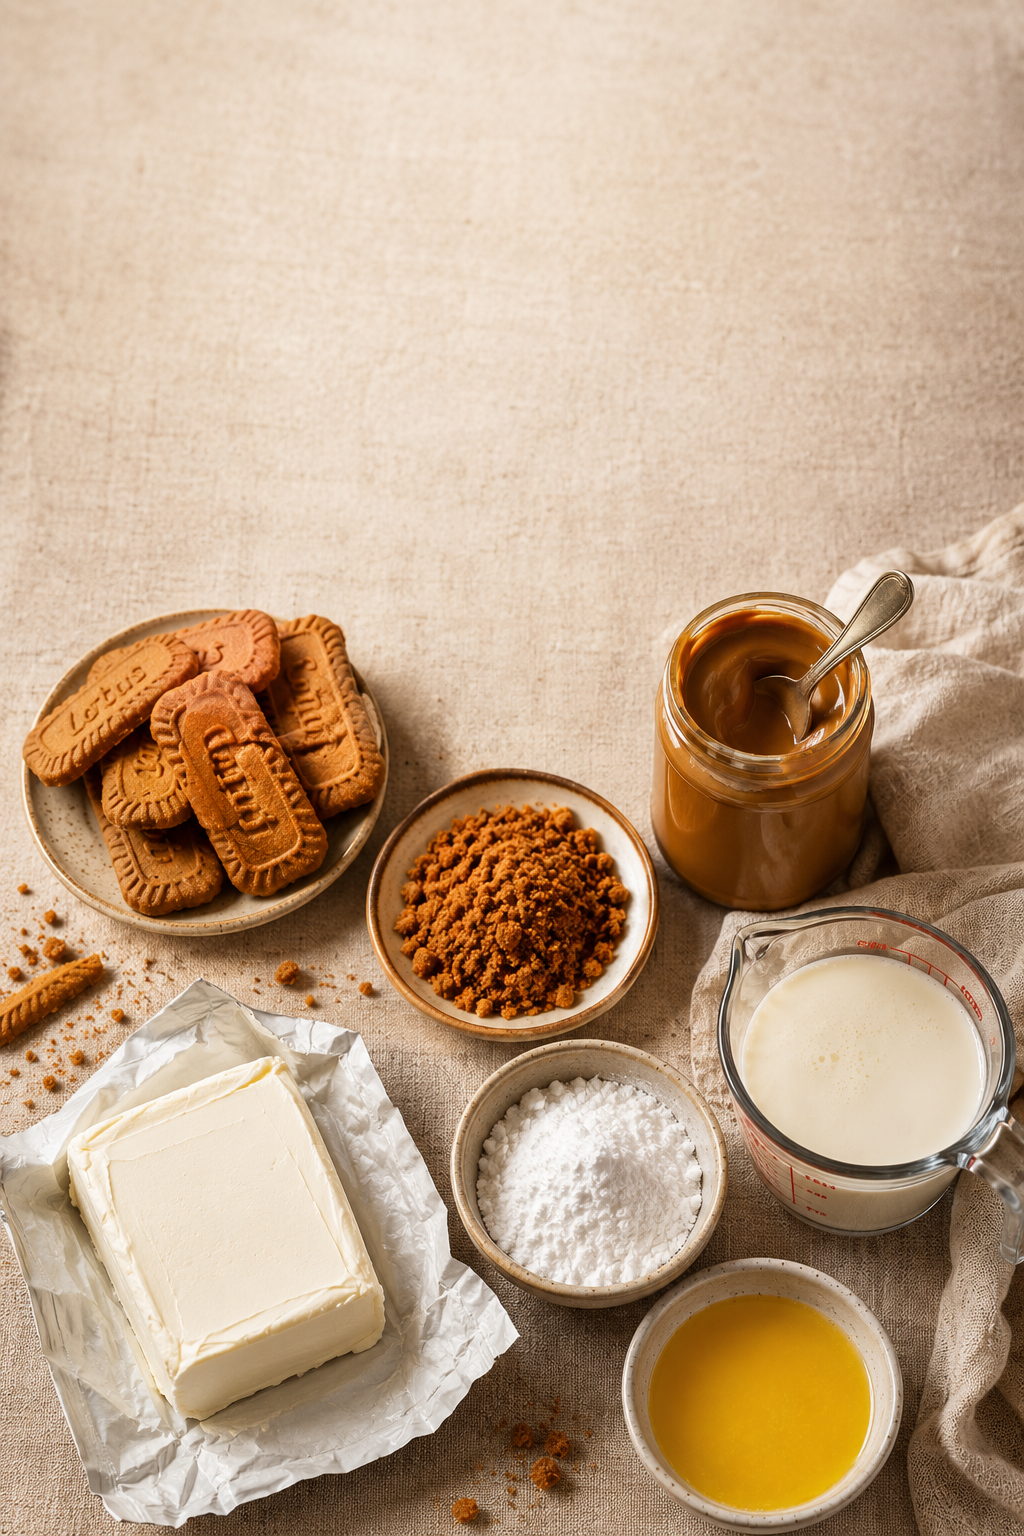
Crust
- 2 cups Biscoff cookies, finely crushed (about 24 cookies)
- 6 tablespoons unsalted butter, melted
Filling
- 16 oz full-fat cream cheese, softened
- 3/4 cup Biscoff spread
- 3/4 cup powdered sugar
- 1 teaspoon vanilla extract
- 1 cup heavy cream, cold
Topping
- 1/3 cup Biscoff spread, warmed slightly
- 6 Biscoff cookies, roughly crushed
Step-by-Step Instructions
Step 1 — Build the crust
Pulse the Biscoff cookies in a food processor until they resemble fine sand, or crush them in a zip-top bag with a rolling pin. Stir in the melted butter until the mixture looks like wet sand and holds together when pressed between your fingers.
Press the mixture firmly and evenly into a parchment-lined 8×8-inch pan. Use the flat bottom of a measuring cup to really compact it; this step matters more than people expect. Chill the crust in the freezer for 15 minutes while you make the filling.
A firmly packed crust holds its shape far better than a loosely pressed one; that’s the difference I noticed between my early attempts and the ones that actually sliced clean.
Step 2 — Whip the filling base
In a large bowl, beat the softened cream cheese until completely smooth, about 1-2 minutes. Add the Biscoff spread, powdered sugar, and vanilla, and beat again until fully combined and glossy. Scrape down the sides of the bowl so nothing gets left unmixed.
Step 3 — Whip and fold in the cream
In a separate bowl, whip the cold heavy cream until it holds stiff peaks. This usually takes 3-4 minutes with a hand mixer. Fold the whipped cream into the Biscoff mixture in two additions, using a spatula and a gentle folding motion rather than stirring, to keep the air in.
Step 4 — Assemble and chill
Spread the filling evenly over the chilled crust, smoothing the top with an offset spatula. Cover and refrigerate for at least 4 hours, though overnight gives the cleanest slices.
In my kitchen, overnight always sets up firmer than the 4-hour mark, so if you’re serving for a party, make these a day ahead if you can.
Step 5 — Finish and slice
Warm the remaining Biscoff spread for about 15 seconds in the microwave, just enough to loosen it into a drizzle-able consistency. Drizzle it over the chilled bars, then scatter the crushed cookies on top. Use a sharp knife wiped clean between cuts for neat squares.
Expert Tips
- Room-temperature cream cheese is non-negotiable for a smooth filling; take it out at least an hour before you start
- Fold, don’t stir, once the whipped cream goes in, or you’ll deflate the air that gives the bars their light texture
- Line the pan with parchment on all sides so the whole slab lifts out cleanly before slicing
- A hot knife (run under warm water, then dried) gives the cleanest cut lines through the chilled filling
- If your Biscoff spread is thick straight from the jar, a short 10-second microwave zap makes it much easier to mix in
Common Mistakes
Mistake 1—The crust falls apart when sliced
Cause: Not enough butter, or the crust wasn’t pressed firmly enough before chilling.
Fix: Make sure the crumb mixture looks like wet sand before pressing, and really compact it with a flat-bottomed cup. Give it a full chill before adding the filling.
Mistake 2—Filling stays soft and won’t slice cleanly
Cause: Not chilled long enough, or the cream cheese wasn’t fully smooth before the other ingredients were added.
Fix: Chill for the full 4 hours minimum, ideally overnight. Always beat the cream cheese alone first until it’s completely lump-free.
Mistake 3—Filling tastes flat instead of rich
Cause: Low-fat cream cheese, or skipping the vanilla.
Fix: Stick with full-fat cream cheese and don’t skip the vanilla extract; it rounds out the sweetness from the powdered sugar and Biscoff spread.
FAQ
Can I freeze this?
Yes. Slice the bars first, then freeze them in a single layer before transferring to an airtight container with parchment between layers. They’ll keep well for up to 2 months. Thaw in the fridge for a few hours before serving.
Can I make it ahead?
Yes, and it’s actually better made a day ahead. The filling firms up more overnight, which makes for cleaner slices and better texture.
Why did my texture turn out wrong?
This usually traces back to two things: cream cheese that wasn’t fully softened before mixing, which leaves lumps, or not chilling long enough, which leaves the filling soft instead of sliceable. Both are easy fixes, just build in more time.
Can I use a store-bought crust instead?
You can, but a store-bought graham crust will taste noticeably different since it skips the caramelized spice flavor that Biscoff cookies bring. If you’re short on time, a plain graham crust still works structurally.
Do I need a springform pan?
No. A regular 8×8-inch pan lined with parchment works fine and actually makes lifting the bars out easier than a springform would.
Storage and Reheating
Room Temperature
Not recommended for more than 30 minutes, the cream cheese filling softens quickly at room temperature.
Refrigerator
Store covered in the pan or in an airtight container for up to 5 days.
Freezer
Freeze sliced bars for up to 2 months, layered with parchment in an airtight container.
Reheating
No reheating needed. If frozen, thaw in the refrigerator for 3-4 hours before serving.
Variations
Chocolate Biscoff Bars
Add a thin layer of melted dark chocolate between the crust and filling for a firmer bite and a bittersweet contrast to the sweet cookie butter.
Mini Biscoff Cheesecake Cups
Press the crust into muffin liners instead of a pan and divide the filling evenly for individual portions, perfect for parties.
Biscoff Cheesecake Pie
Use the same crust and filling in a 9-inch pie dish for a taller, more traditional cheesecake shape.
Nutrition
Estimated per bar, based on 16 servings
- Calories: 320
- Protein: 4g
- Carbohydrates: 26g
- Fat: 23g
- Sodium: 190mg


