How to Make Steak and Beef Chili Recipe.
Ever wondered how to make chili go from ordinary to extraordinary? The answer is in a steak and beef chili recipe. It turns simple comfort food into a true masterpiece.
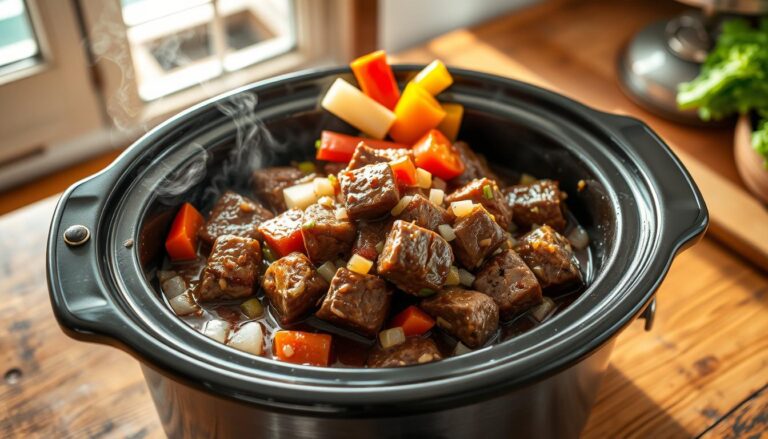
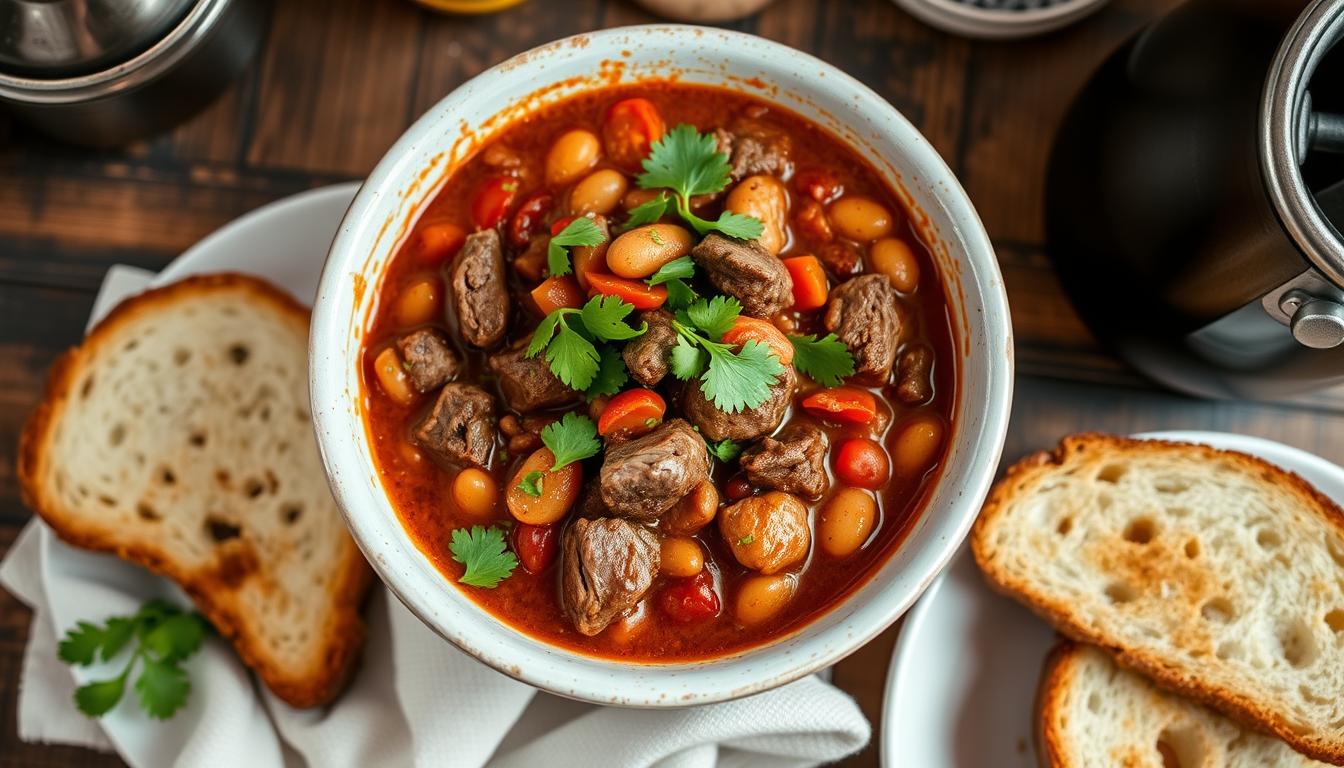
This chili is more than just a meal. It’s a rich, bold experience. Imagine tender steak and beef chunks in a flavorful sauce. The sauce gets better with time, adding depth and intensity.
Your chili will be the hit at family gatherings and game days. With a few ingredients and some patience, you’ll make a meal that’s truly special.
Table of Contents
Key Takeaways
- Learn how to select the perfect steak cuts for chili
- Discover the secrets to developing rich, complex flavors
- Master slow-cooking techniques for tender meat
- Understand the nutritional benefits of homemade chili
- Explore versatile serving and topping options
Understanding the Perfect Steak and Beef Chili Recipe
Chili cooking is more than just a recipe. It’s an art that uses sirloin tips to create a dish that’s both sophisticated and textured. This makes your meal go from ordinary to extraordinary.
Beef tip chili offers a unique flavor and texture. It’s different from traditional recipes because of the meat and cooking methods used.
Difference Between Traditional and Steak Chili
Traditional chili uses ground beef. Steak chili, on the other hand, uses big meat chunks. This makes the dish more robust and gives it different textures.
- Ground beef: Uniform, fine texture
- Steak chunks: Varied, meaty bites
- Enhanced flavor complexity
Why Choose Steak for Your Chili
Choosing steak for your chili has many benefits. Tougher cuts become tender when slow-cooked. They release deep flavors that ground meat can’t match.
| Steak Cut | Tenderness | Flavor Profile |
|---|---|---|
| Sirloin Tips | Medium | Rich, Robust |
| Flank Steak | Slightly Tough | Intense Beef Flavor |
Benefits of Slow-Cooked Steak Chili
Slow-cooking beef tip chili makes tough meat tender. It lets spices blend deeply, creating a rich flavor.
“Patience transforms good chili into an exceptional culinary experience.” – Chili Masters Cookbook
Steak chili gets better with slow cooking. It becomes complex and each bite is full of flavor and tender meat.
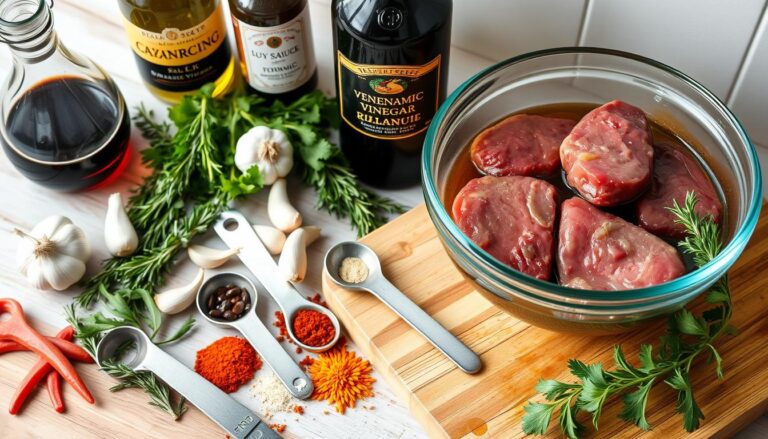
Essential Ingredients for Rich and Hearty Chili
Making the perfect tenderloin chili needs the right ingredients. These ingredients create deep, complex flavors. Your chili will go from good to great with the right mix of fresh and quality parts.
- 2.5 pounds of 85% lean ground beef
- Cooking oil for sautéing
- Fresh vegetables:
- Onions
- Bell peppers
- Garlic cloves
- Liquid ingredients:
- Beef broth
- Dark beer
- Tomato sauce
Choosing top-notch beef is key for tenderloin chili. Tenderloin chili needs quality meat that gets tender and flavorful when slow-cooked. Make sure the beef chunks are the same size for even cooking.
| Ingredient Category | Recommended Quantity | Purpose |
|---|---|---|
| Tomato Products | 1 can sauce, 1 can diced, 3 tbsp paste | Adds depth and thickness |
| Beans | 1 can pinto, 1 can kidney | Provides texture and protein |
| Spices | Chili powder, cumin, oregano | Builds complex flavor profile |
“The secret to great chili is layering flavors and allowing ingredients to develop their full potential.” – Professional Chef
If you’re watching your calories, this chili has about 655 calories per serving. It has 39 grams of protein. You can adjust the spices or swap out ingredients to fit your diet.
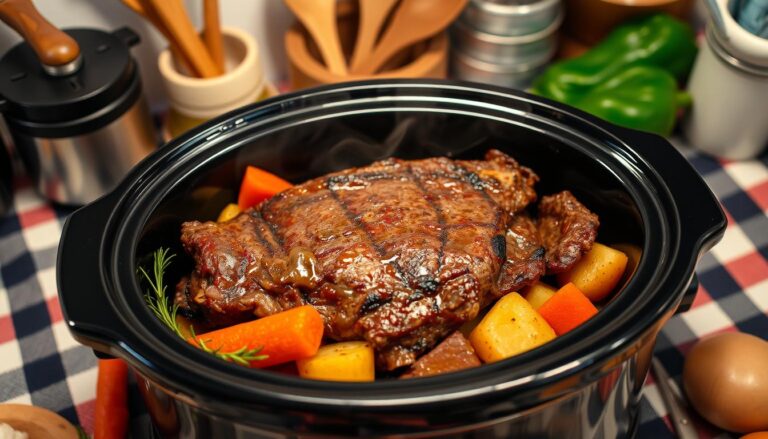
Selecting the Best Cuts of Steak for Chili
Choosing the right cut of beef can make your chili recipe with sirloin tips amazing. Different steak cuts add unique flavors and textures. This makes picking the right one very important for a tasty meal.
When making a hearty chili, knowing your meat options is key. Let’s look at the top steak choices that will make your dish stand out:
Top Steak Cuts for Chili
- Sirloin Tips: Offers a balance of flavor and tenderness
- Round Steak: Lean and budget-friendly
- Chuck Roast: Rich in flavor with excellent marbling
- Rump Steak: Affordable alternative with great taste
Budget-Friendly Steak Options
Not all great chili needs expensive cuts. Round steak is a great choice for those on a budget. It has a strong flavor without costing a lot. Top sirloin, with more fat, makes the chili taste richer and juicier.
Meat Preparation Tips
How you prepare the meat is crucial for your chili. Here are some important steps:
- Trim excess fat from the meat
- Cut into uniform 1-inch cubes
- Pat meat dry before seasoning
- Sear meat briefly to lock in flavors
“The secret to an incredible chili is selecting the right cut and preparing it with care.”
Comparative Steak Selection
| Cut | Fat Content | Price | Flavor Profile |
|---|---|---|---|
| Sirloin Tips | Medium | Moderate | Rich, Balanced |
| Round Steak | Low | Budget-Friendly | Lean, Mild |
| Chuck Roast | High | Affordable | Intense, Marbled |
Your chili recipe with sirloin tips will be a hit by choosing the right cut and mastering preparation. Remember, the meat is the star of your beef tip chili!
Essential Kitchen Equipment and Preparation Steps

To make a tasty steak and beef chili, you need the right tools and a plan. Choosing the best equipment and organizing your ingredients well is crucial.
A Dutch oven is the best choice for cooking your chili. Its wide mouth and thick sides are perfect for slow cooking. This helps flavors blend and liquids reduce well.
Essential Kitchen Equipment
- Large Dutch oven or heavy-bottomed pot
- Sharp chef’s knife
- Cutting board
- Wooden spoon
- Measuring cups and spoons
- Meat thermometer
Preparation Steps
- Gather all ingredients before starting
- Cut steak into uniform 2-inch cubes
- Chop vegetables in advance
- Measure spices and set aside
- Prepare cooking surface with proper heat
“Mise en place” is the secret to stress-free cooking – having everything ready before you start makes the process smooth and enjoyable.
When cooking your chili, keep things organized. Make sure your workspace is clean, ingredients are prepped, and tools are easy to find. This makes cooking a breeze and fun.
For the best taste, cook your chili a day ahead. This lets the spices mix and deepen, making the dish richer and more flavorful.
Creating the Perfect Chili Seasoning Blend
Making the perfect seasoning blend is key to making your chili stand out. The right mix of spices can turn a simple dish into a memorable experience. It will make your taste buds dance with joy.
Essential Spice Measurements
When making your chili seasoning, being precise is important. Here’s a spice blend that will add depth to your chili:
- 4 tablespoons chili powder
- 2 tablespoons smoked paprika
- 2 tablespoons ground cumin
- 1 tablespoon garlic powder
- 1 tablespoon kosher salt
- 1 tablespoon black pepper
Customizing Heat Levels
Everyone likes different levels of heat in their chili. Here’s how to adjust it:
- Mild: Omit cayenne pepper
- Medium: Add 1/2 teaspoon cayenne
- Hot: Use 1 full teaspoon cayenne
Secret Ingredients for Depth
“The difference between good chili and great chili lies in the unexpected ingredients.”
To make your chili even better, try these secret ingredients:
- 1 tablespoon cocoa powder (adds rich undertones)
- 1/2 teaspoon dried oregano
- 1-2 tablespoons masa harina (for thickening)
| Ingredient | Quantity | Purpose |
|---|---|---|
| Chili Powder | 4 tablespoons | Primary flavor base |
| Smoked Paprika | 2 tablespoons | Adds smoky depth |
| Cumin | 2 tablespoons | Earthy undertones |
| Cayenne Pepper | 1/2 – 1 teaspoon | Heat control |
Remember, you can store your homemade chili seasoning in an airtight container for up to 6 months. This way, you’ll always have a flavorful blend ready to make your next chili amazing.
Step-by-Step Cooking Instructions
To make the perfect beef tip chili, you need to be precise and careful. First, get your ingredients ready and set up your cooking area. This will help you make a delicious steak and beef chili.
Meat Preparation
Cut your steak into pieces that are 1/2 to 3/4 inches thick. This makes sure the chili cooks evenly. Use 1 1/2 to 2 pounds of chuck roast or stew meat for the best taste.
- Season the steak pieces with salt and pepper
- Prepare 2 tablespoons of cooking oil
- Heat oil in a large pot over medium-high heat
Searing the Meat
Sear the steak in batches to avoid overcrowding. This method adds deep flavors to your chili. Cook the meat in layers, so each piece browns well.
- Sear meat for 2-3 minutes per side
- Remove meat with a slotted spoon
- Set aside on a clean plate
Vegetable Preparation
Lower the heat to medium and add more oil if needed. Sauté your vegetables to create a flavorful base for your chili.
| Ingredient | Quantity | Cooking Time |
|---|---|---|
| Onions | 1 medium (1 1/2 cups) | 2-3 minutes |
| Garlic | 3 cloves, minced | 30 seconds |
| Green Chiles | 4-ounce can | 1 minute |
Final Cooking Steps
Put the seared meat back in the pot. Add tomatoes, beef broth, beans, and spices. For a true authentic beef tip chili, simmer for 3-4 hours. This lets the flavors fully develop.
“Great chili is about patience and layering flavors” – Chili Cooking Experts
Your steak and beef chili recipe is now ready to impress you with its rich, hearty flavors!
Tips for Achieving the Ideal Thickness and Texture
Making the perfect chili with sirloin tips is all about getting the right thickness and texture. It should be like a hearty stew, not a thin soup. The trick is to control the consistency while keeping the rich flavor of the beef.
Simmering Techniques for Rich Chili
Simmering is key to deepening your chili’s flavor. Here’s what the pros do:
- Use low heat for 1-2 hours
- Keep the pot uncovered to allow liquid reduction
- Stir occasionally to prevent sticking
Effective Thickening Methods
Need to thicken your chili with beef chunks? Try these methods:
- Cornmeal or masa harina: Add 1-2 tablespoons and simmer for 5-10 minutes
- Create a cornstarch slurry with equal parts water and cornstarch
- Mash some beans directly in the pot
- Incorporate tomato paste for extra density
“The secret to great chili is patience and attention to texture.” – Culinary Expert
Remember, your chili should have more solids than liquids. Taste and adjust seasonings after thickening to keep the flavor just right.
Storage, Reheating, and Serving Suggestions
Your delicious steak and beef chili recipe needs the right care to keep its amazing taste. Storing your tenderloin chili right lets you enjoy it for days.
Storage Guidelines
- Refrigeration: Store in an airtight container for up to 4-5 days
- Freezing: Can be frozen for up to 3 months
- Recommended container: Glass or plastic with tight-fitting lid
Reheating Methods
| Method | Instructions | Time |
|---|---|---|
| Stovetop | Low heat, stirring occasionally | 8-10 minutes |
| Microwave | Cover, stir midway | 2-3 minutes |
| Slow Cooker | Low setting, add splash of broth | 30-45 minutes |
Pro tip: Always reheat until the internal temperature reaches 165°F for food safety.
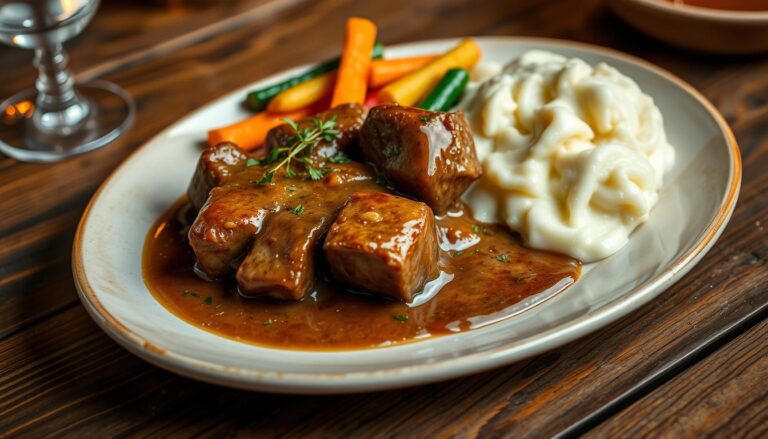
Serving Suggestions
Make your steak and beef chili recipe even better with these tasty toppings:
- Shredded cheddar cheese
- Sour cream
- Chopped fresh cilantro
- Diced green onions
- Crispy tortilla strips
“A great chili is all about layers of flavor and personal touch!” – Professional Chef

Nutritional bonus: Each serving has about 601 calories, 37g protein, and lots of important nutrients to start your day.
Conclusion
Your steak and beef chili recipe is more than a meal. It’s a journey that turns simple ingredients into a rich, flavorful dish. By choosing top cuts like sirloin or chuck steak, you’ve made a classic dish into a gourmet treat that will wow everyone.
Making great chili takes patience and skill. Letting it simmer for 1.5 to 2 hours blends the flavors perfectly. This creates a depth that store-bought chili can’t match. Also, using the right amount of spices, like 1 teaspoon of dried herbs, keeps the taste balanced and the meat in the spotlight.
Feel free to try new things with your chili recipe. Every time you make it, you can add your own twist. You might top it with shredded cheddar, add sour cream, or use fresh avocado slices. Your chili can be a blank canvas for your creativity.
This chili is not just a recipe; it’s a comfort food that brings people together. You can freeze it for up to 3 months, so you’ll always have a tasty meal ready. Enjoy your cooking journey and relish every bite of your homemade chili!