What is a Bulgogi Bowl and How to Make It?
Table of Contents
Have you ever wondered how to bring the mouthwatering flavors of Korean barbecue into your own kitchen without needing a special grill? A bulgogi bowl might be the perfect answer you’ve been looking for! This delicious Korean-inspired meal combines sweet and savory marinated beef with colorful vegetables and fluffy rice for a complete meal that’s as beautiful as it is tasty.
What Makes a Bulgogi Bowl Special?
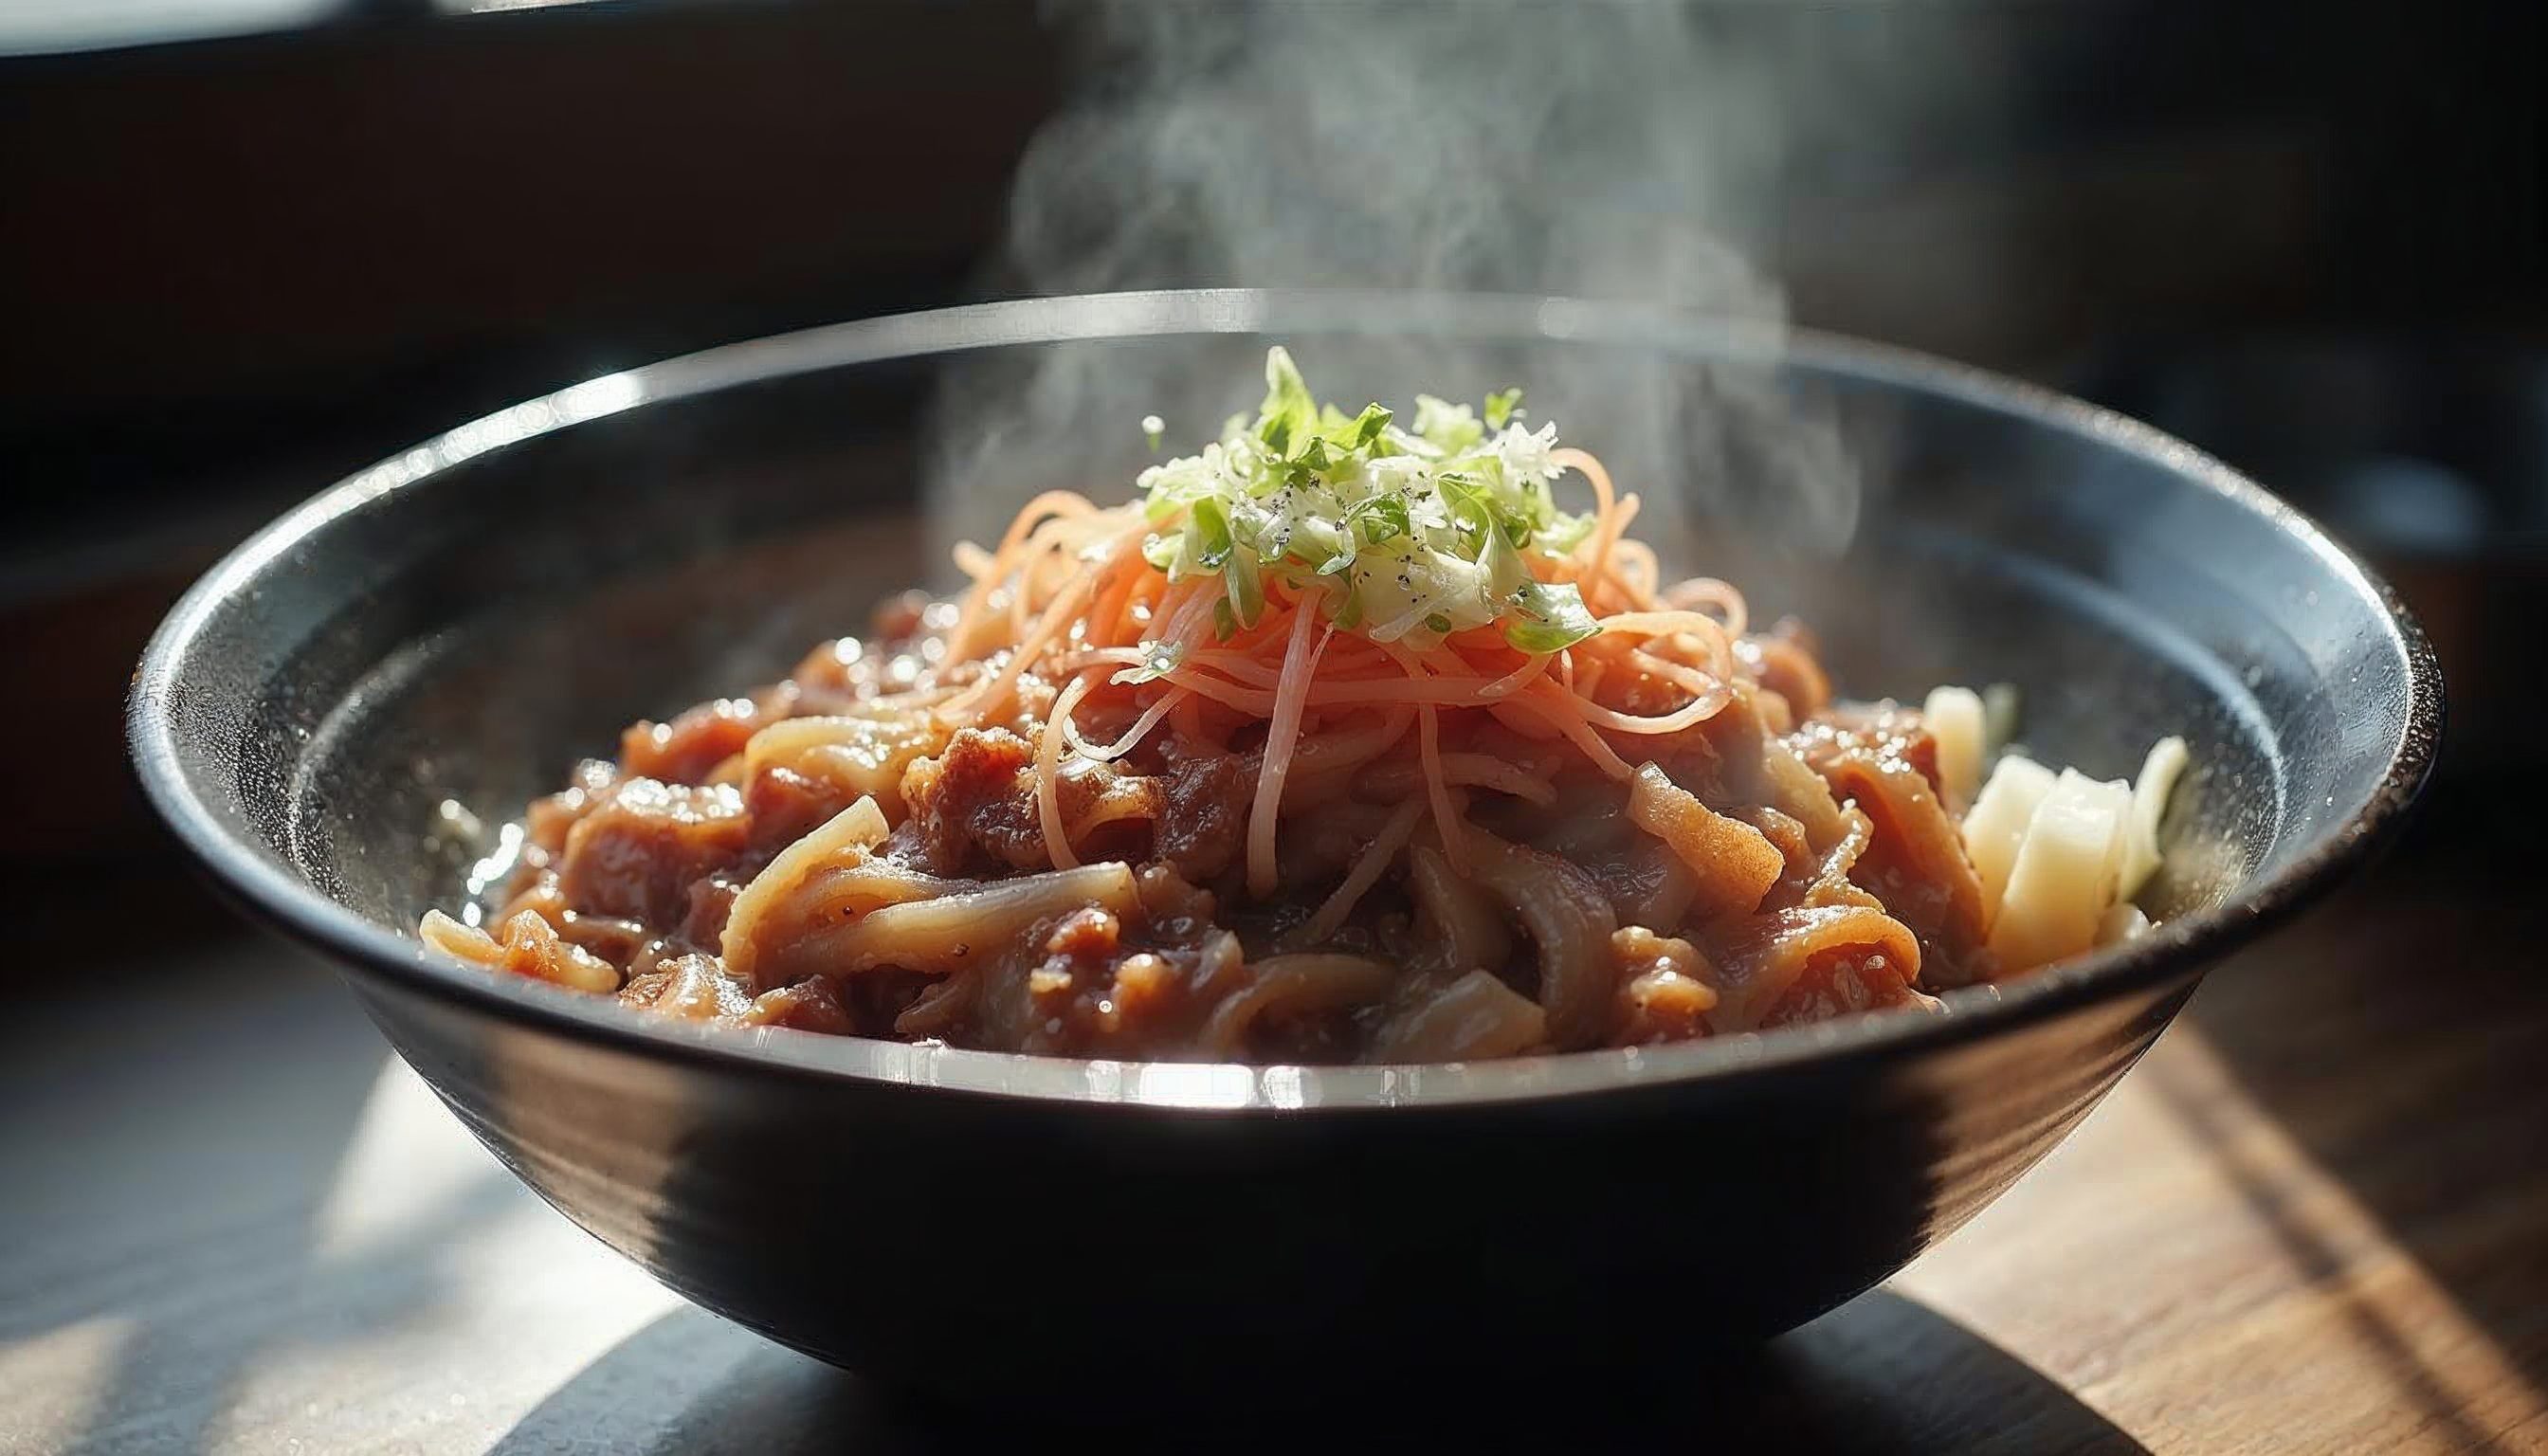
A bulgogi bowl (also called a Korean beef bowl) takes the classic Korean barbecued beef dish and transforms it into a convenient, customizable meal. “Bulgogi” means “fire meat” in Korean, referring to the traditional grilling method. The dish features thinly sliced beef in a sweet-savory marinade, served over rice with fresh and pickled vegetables.
Time Required: About 30-40 minutes (plus marinating time) Difficulty Level: Easy to medium – perfect for beginners! Meal Type: Lunch or dinner
What makes this dish truly special is its perfect balance of flavors and textures. The sweet-savory beef pairs wonderfully with the crunch of fresh vegetables and the tang of pickled sides. Plus, it’s a complete meal in one bowl!
Essential Ingredients for an Amazing Bulgogi Bowl
For the Bulgogi Beef:
- Beef: Thinly sliced ribeye or sirloin (about 1 pound)
- Why it matters: These cuts have the right balance of lean meat and fat for the best flavor
- Substitution: Ground beef works too for a quicker version
- Soy sauce: 1/3 cup
- Why it matters: Provides the salty base and umami flavor
- Substitution: Coconut aminos for a gluten-free option
- Brown sugar: 3 tablespoons
- Why it matters: Creates the signature sweet flavor and helps with caramelization
- Substitution: Honey or maple syrup
- Asian pear: 1/2 pear, grated
- Why it matters: Contains natural enzymes that tenderize the meat
- Substitution: Grated apple or kiwi
- Garlic: 4 cloves, minced
- Why it matters: Essential for authentic flavor
- Substitution: 1 teaspoon garlic powder in a pinch
- Ginger: 1 tablespoon, grated
- Why it matters: Adds aromatic warmth
- Substitution: 1/2 teaspoon ground ginger
- Sesame oil: 1 tablespoon
- Why it matters: Adds nutty depth of flavor
- Substitution: Perilla oil or additional cooking oil
- Black pepper: 1/2 teaspoon
For the Bowl Base:
- Rice: 2 cups cooked white rice
- Why it matters: Provides a neutral base that soaks up the flavorful sauce
- Substitution: Brown rice, quinoa, or cauliflower rice for a low-carb option
For the Toppings:
- Vegetables: Sliced cucumber, shredded carrots, spinach
- Why they matter: Add freshness, crunch, and nutrition
- Substitutions: Any vegetables you enjoy!
- Kimchi: 1/2 cup
- Why it matters: Adds traditional Korean flavor and gut-healthy probiotics
- Substitution: Quick pickled vegetables
- Green onions: 2, sliced
- Why they matter: Add a fresh, mild onion flavor and color
- Sesame seeds: 1 tablespoon
- Why they matter: Add nuttiness and visual appeal
- Fried egg: Optional but recommended!
- Why it matters: The runny yolk creates a rich sauce when mixed
Step-by-Step Instructions
Step 1: Prepare the Bulgogi Marinade
- In a medium bowl, mix together soy sauce, brown sugar, grated Asian pear, minced garlic, grated ginger, sesame oil, and black pepper.
- Stir until the sugar dissolves completely.
Pro tip: For extra flavor, add 1 tablespoon of gochujang (Korean chili paste) if you like a little heat!
Step 2: Marinate the Beef
- If not pre-sliced, place your beef in the freezer for about 30 minutes to firm up, making it easier to slice thinly.
- Slice the beef against the grain into very thin strips (about 1/8 inch thick).
- Add the beef to the marinade and mix well to coat every piece.
- Cover and refrigerate for at least 30 minutes, or ideally 2-4 hours. For the best flavor, you can marinate overnight.
Pro tip: Don’t marinate for more than 24 hours, as the meat can become mushy from the enzymes in the pear.
Step 3: Cook the Rice
- Rinse 1 cup of rice under cold water until the water runs clear.
- Cook according to package instructions (typically 1 cup rice to 1.5 cups water).
- Once cooked, fluff with a fork and keep warm.
Pro tip: For extra flavor, cook your rice in beef or vegetable broth instead of water!
Step 4: Prepare the Vegetables
- Wash and slice cucumber into thin rounds or matchsticks.
- Peel and shred carrots.
- Wash spinach and other leafy greens.
- Slice green onions diagonally.
Pro tip: Lightly salt the cucumber slices and let them sit for 10 minutes. Rinse and pat dry for crunchier cucumber with enhanced flavor.
Step 5: Cook the Bulgogi
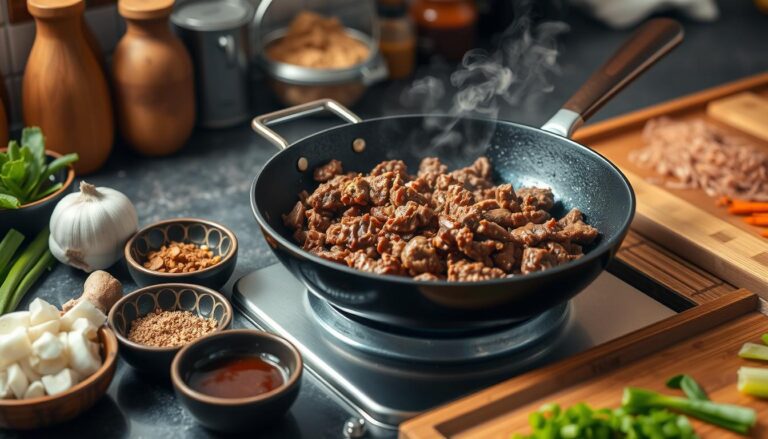
- Heat a large skillet or wok over medium-high heat.
- Add 1 tablespoon of cooking oil.
- Working in batches if necessary (don’t overcrowd the pan!), add the marinated beef in a single layer.
- Cook for 2-3 minutes until the edges are caramelized and the beef is just cooked through.
- Remove from heat.
Pro tip: Don’t stir the beef constantly – let it sit for a minute to develop those delicious browned edges!
Step 6: Optional – Fry an Egg
- In a small non-stick pan, heat a little oil over medium heat.
- Crack an egg into the pan and cook until the whites are set but the yolk is still runny.
- Season with a pinch of salt and pepper.
Assembly – Building Your Bulgogi Bowl
Now comes the fun part – putting everything together!
- Start with a base of warm rice in your bowl.
- Arrange a generous portion of bulgogi beef on one side.
- Add small piles of your prepared vegetables around the bowl – cucumber, carrots, spinach.
- Add a spoonful of kimchi.
- Sprinkle with sliced green onions and sesame seeds.
- If using, place the fried egg on top.
Presentation tips:
- Arrange ingredients in sections for a colorful, Instagram-worthy bowl
- Drizzle with extra bulgogi sauce from the pan
- Add a small dish of gochujang sauce on the side for those who like it spicy
Storage and Make-Ahead Tips
Bulgogi bowls are perfect for meal prep! Here’s how to store each component:
Cooked Bulgogi Beef:
- Refrigerate in an airtight container for up to 3-4 days
- Freeze for up to 3 months
- Reheat in a skillet with a splash of water to restore moisture
Rice:
- Store cooked rice in the refrigerator for up to 5 days
- Freeze for up to 2 months in freezer bags
- Reheat with a sprinkle of water in the microwave or on the stovetop
Fresh Vegetables:
- Keep prepared vegetables separate and refrigerated
- Slice cucumbers and carrots up to 3 days ahead
- Wait to dress any vegetables until serving time
Make-Ahead Strategy:
- Marinate beef up to 24 hours in advance
- Cook rice and beef 1-2 days before
- Prepare vegetables the morning of or night before
- Assemble just before eating for the freshest results
Pro tip: For meal prep, pack components separately and assemble right before eating to prevent soggy vegetables!
Delicious Bulgogi Bowl Variations
The beauty of bulgogi bowls is how easily they can be customized! Try these creative variations:
Bulgogi Bibimbap Style
Add a variety of sautéed vegetables (spinach, bean sprouts, mushrooms) and gochujang sauce for a crossover with another famous Korean dish.
Bulgogi Burrito Bowl
Use Mexican-inspired toppings like avocado, corn, and lime alongside the bulgogi for a Korean-Mexican fusion.
Vegetarian/Vegan Bulgogi Bowl
Replace beef with:
- Firm tofu slices
- Portobello mushrooms
- Plant-based meat alternatives
- Tempeh
Low-Carb Bulgogi Bowl
Swap the rice for:
- Cauliflower rice
- Shredded cabbage
- Zucchini noodles
Spicy Bulgogi Bowl
Add:
- Extra gochujang in the marinade
- Sliced fresh jalapeños
- A drizzle of sriracha
Conclusion
Bulgogi bowls are the perfect introduction to Korean flavors – they’re simple enough for beginners but tasty enough to satisfy even the most experienced food lovers. The combination of sweet-savory beef, fresh vegetables, and steaming rice creates a balanced meal that’s both comforting and exciting.
Don’t be afraid to make this recipe your own! Add your favorite vegetables, adjust the sweetness or spice level, or try different proteins. The best part about cooking at home is being able to customize dishes exactly to your taste.
So grab your ingredients and give this bulgogi bowl a try! Your taste buds will thank you for bringing these amazing Korean flavors into your kitchen.
Frequently Asked Questions
Q: Can I make bulgogi without an Asian pear? A: Yes! You can substitute with a grated apple, kiwi, or even pineapple. These fruits contain similar enzymes that help tenderize the meat. If you don’t have any of these, you can skip it, but the meat might be slightly less tender.
Q: Is bulgogi very spicy? A: Traditional bulgogi is not spicy at all – it’s more sweet and savory. The optional addition of gochujang (Korean chili paste) is what adds heat. You can adjust the spice level to your preference or leave it out completely.
Q: What are the health benefits of a bulgogi bowl? A: Bulgogi bowls can be quite nutritious! The beef provides protein, the vegetables offer fiber and vitamins, and if you include kimchi, you get beneficial probiotics for gut health. Using brown rice instead of white adds more fiber and nutrients.
Q: Can I use ground beef instead of sliced beef? A: Absolutely! Using ground beef creates a dish similar to “Yukgaejang” or Korean beef bowls. It cooks even faster and absorbs the marinade well. Just mix the ground beef with the marinade and cook until browned.
Q: How do I slice the beef thin enough? A: Partially freezing the beef for 20-30 minutes makes it much easier to slice thinly. Use a sharp knife and cut against the grain. Alternatively, ask your butcher to slice it for you, or look for pre-sliced beef labeled for bulgogi or shabu-shabu at Asian markets.
Q: Is this dish gluten-free? A: Traditional bulgogi contains soy sauce, which has wheat. For a gluten-free version, substitute with tamari or coconut aminos, and double-check that any other bottled sauces you use are certified gluten-free.

