Step-by-step guide to cooking country style beef ribs
There’s something deeply satisfying about preparing a meal that fills your home with mouthwatering aromas. Whether you’re a seasoned cook or just starting out, mastering the art of creating tender, flavorful ribs can be a rewarding experience. This guide is here to walk you through every step, ensuring your dish turns out perfectly every time.
From selecting the right ingredients to applying traditional techniques, we’ll cover it all. You’ll learn how to use low and slow methods to achieve that melt-in-your-mouth texture. We’ll also share insider tips on checking doneness and creating a delicious glaze that elevates your dish.
By the end of this guide, you’ll feel confident in your ability to prepare a meal that’s sure to impress. Let’s dive in and transform your kitchen into a hub of culinary creativity!
Table of Contents
Key Takeaways
- Learn how to select the best ingredients for your dish.
- Master traditional techniques for tender, flavorful results.
- Discover the benefits of low and slow cooking methods.
- Get tips on checking doneness and creating a perfect glaze.
- Feel confident in preparing a meal that impresses everyone.
Introduction to Country Style Beef Ribs
Few dishes capture the essence of American barbecue like a well-prepared rib dish. Rooted in tradition, this meal is a celebration of flavor and heritage. Whether you’re hosting a backyard gathering or enjoying a cozy family dinner, these ribs are sure to impress.
Discovering the Rich Flavor and Tradition
This dish has a rich history tied to American barbecue culture. The unique marbling of the meat ensures a tender, juicy result every time. Unlike pork variations, beef offers a heartier, more robust flavor that stands out on any table.
Social media is abuzz with posts celebrating this classic comfort food. From family recipes to modern twists, it’s clear that this dish holds a special place in many hearts. Its popularity is a testament to its timeless appeal.
Why You’ll Love This Recipe
What makes this recipe stand out is its simplicity and incredible taste. With just a few steps, you can create a dish that’s both impressive and delicious. The low and slow cooking method locks in flavor, ensuring every bite is a delight.
Here’s a quick comparison to help you understand the differences between beef and pork:
| Aspect | Beef Ribs | Pork Ribs |
|---|---|---|
| Flavor | Rich, hearty | Mild, sweet |
| Texture | Juicy, tender | Soft, fall-off-the-bone |
| Cooking Time | 2-3 hours | 1.5-2 hours |
By the end of this guide, you’ll have all the tools to create a dish that’s as flavorful as it is satisfying. Let’s dive into the details and bring this classic to life in your kitchen!
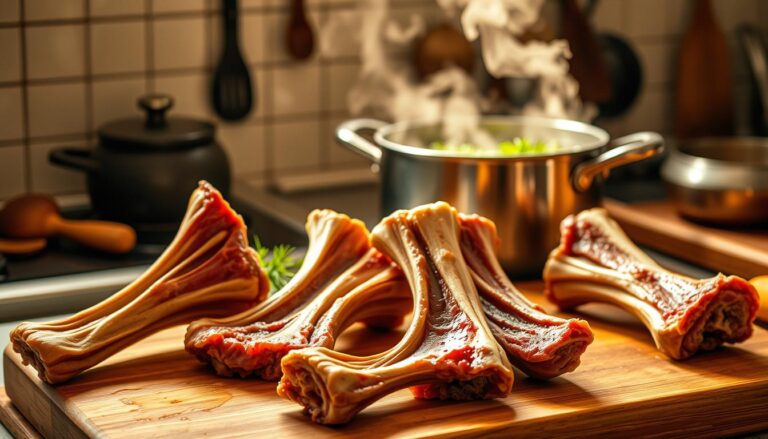
Essential Ingredients for a Great Beef Rib Dish
The secret to a mouthwatering dish lies in the quality of its ingredients. From the meat to the spices, every component plays a crucial role in creating a flavorful and tender result. Let’s explore the must-have elements that make this dish unforgettable.
Highlighting Key Meats and Marinades
Choosing the right meat is the first step to success. Look for cuts with good marbling, like chuck, which ensures a juicy and tender outcome. Unlike pork, beef offers a richer flavor that stands out in every bite.
Marinades are essential for infusing the meat with flavor. A simple mix of olive oil, salt, and spices can work wonders. Let the meat soak in the marinade for at least an hour to lock in the taste.
Spice Mixes and Seasoning Essentials
Spices are the heart of this dish. A well-balanced mix of garlic powder, onion powder, and paprika enhances the meat’s natural flavors. Add a touch of chili for a hint of heat.
Here’s a quick breakdown of the seasoning essentials:
- Garlic Powder: Adds depth and aroma.
- Onion Powder: Enhances savory notes.
- Paprika: Provides a smoky undertone.
- Chili: Introduces a subtle kick.
To help you understand the differences between beef and pork, here’s a comparison:
| Aspect | Beef | Pork |
|---|---|---|
| Flavor | Rich, hearty | Mild, sweet |
| Texture | Juicy, tender | Soft, fall-off-the-bone |
| Cooking Time | 2-3 hours | 1.5-2 hours |
By selecting quality ingredients and balancing your spices, you’ll create a dish that’s both flavorful and memorable. Let’s move on to the next step and bring this recipe to life!
Must-Have Kitchen Equipment and Tools
Having the right tools in your kitchen can make all the difference in achieving restaurant-quality results. Whether you’re a seasoned cook or just starting out, the right equipment ensures your dish turns out tender, juicy, and full of flavor.
To master the art of slow cooking, you’ll need a few essentials. A reliable oven, heavy-duty foil, and a covered roaster are the backbone of this process. Each piece plays a crucial role in ensuring even heat distribution and moisture retention.
Oven, Foil, and Covered Roaster Options
Your oven is the heart of this recipe. Set it to a low temperature, around 250°F, for slow, even cooking. This method locks in flavor and ensures the meat becomes tender without drying out.
Heavy-duty foil is another must-have. Wrapping your dish tightly in foil traps steam, keeping the meat moist and infusing it with flavor. It’s a simple yet effective technique used by many home cooks and professionals alike.
A covered roaster is a favorite for many recipes. It’s affordable, easy to use, and perfect for slow cooking. The lid helps retain moisture, while the even heat distribution ensures consistent results. Brands like Le Creuset and Pyrex are popular choices, known for their durability and performance.
Here’s a quick breakdown of why these tools are essential:
- Oven: Provides consistent, low heat for tender results.
- Foil: Locks in juices and enhances flavor.
- Covered Roaster: Retains moisture and ensures even cooking.
Investing in quality equipment is an investment in your cooking success. With the right tools, you’ll achieve professional-level results every time.
How to Prep and Season Your Ribs
Preparing a flavorful dish starts with proper seasoning and attention to detail. The way you prep your meat can make or break the final result. Let’s dive into the steps to ensure your dish is packed with flavor and perfectly cooked.
Preparing the Beef and Locking in Flavors
Begin by thoroughly drying the meat with paper towels. This step is crucial because moisture prevents spices from sticking. Once dry, brush the surface lightly with olive oil. This helps the seasoning adhere and adds a subtle richness.
Next, mix your spices in a bowl. A balanced blend of garlic powder, salt, and pepper forms the foundation. Add other spices like paprika or chili powder for extra depth. Stir the mixture well to ensure even distribution.
Now, rub the spice blend generously onto the meat. Use your hands to massage it in, ensuring every part is covered. This step not only coats the surface but also helps the flavors penetrate deeper. Let the seasoned meat sit for at least 30 minutes to allow the flavors to meld.

| Spice Blend | Flavor Profile | Best For |
|---|---|---|
| Garlic Powder, Salt, Pepper | Classic, savory | Traditional dishes |
| Paprika, Chili Powder, Brown Sugar | Smoky, slightly sweet | Barbecue-style meals |
| Cumin, Oregano, Red Pepper Flakes | Spicy, earthy | Bold, flavorful dishes |
Taking the time to prep and season your meat properly ensures a dish that’s bursting with flavor. With these steps, you’ll create a meal that’s as delicious as it is memorable.
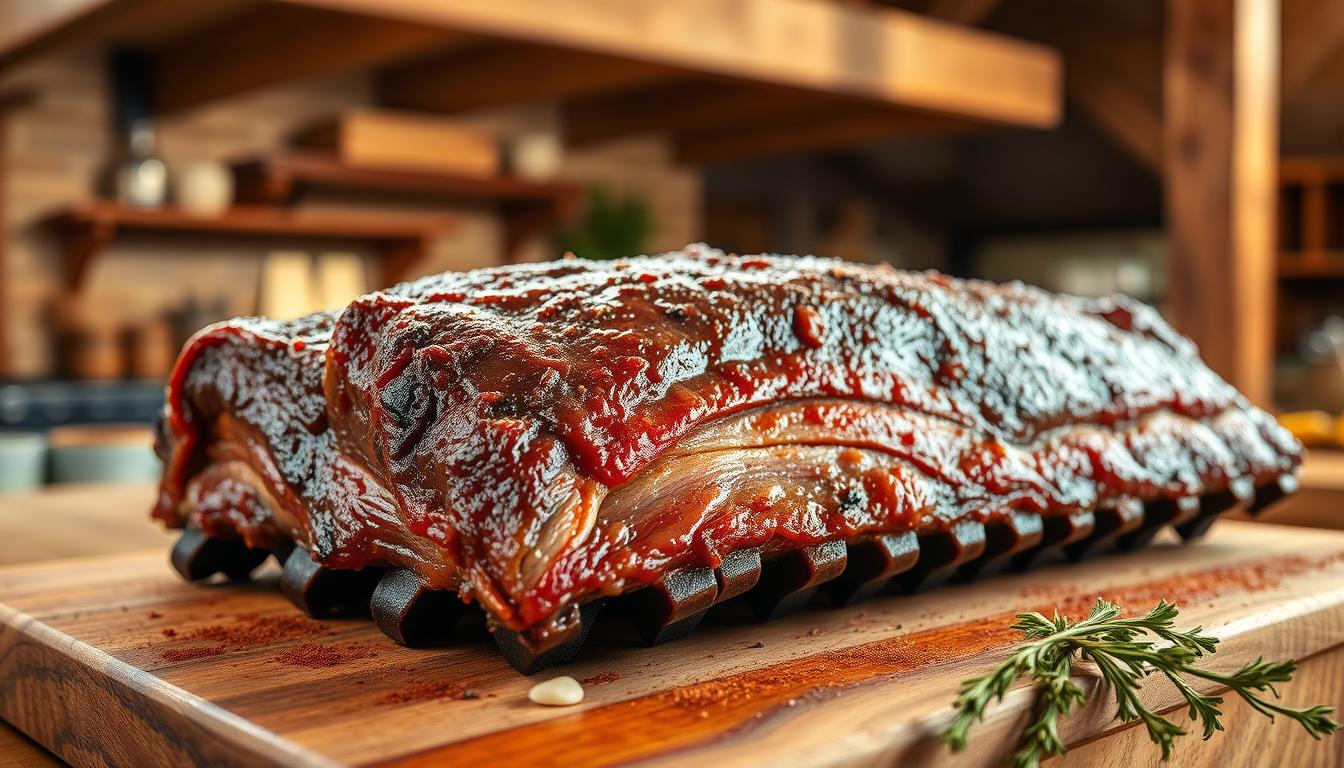
country style beef ribs recipe: Crafting the Perfect Dish
Crafting a standout dish begins with a signature spice rub that transforms ordinary meat into a flavorful masterpiece. The right blend of spices can elevate your meal, making it memorable and delicious. Let’s dive into how to create a rub that sets your dish apart.
Creating a Signature Spice Rub
Start by gathering your spices. A balanced mix of sweet, heat, and savory is key. Combine brown sugar, chili powder, garlic powder, and a pinch of salt in a bowl. This blend ensures a rich, complex flavor that complements the meat perfectly.
Use a proper bowl to mix the ingredients smoothly. This ensures an even distribution of flavors. A well-mixed rub coats the meat evenly, enhancing every bite. The marbling in the meat works with the rub to create a tender, juicy result.
Adjust the spice mix to suit your taste. Add more chili powder for heat or extra brown sugar for sweetness. The beauty of this rub is its versatility. You can tweak it to match your preferred flavor intensity.
Here’s a quick guide to the essential ingredients:
- Brown Sugar: Adds sweetness and helps caramelize the surface.
- Chili Powder: Introduces a smoky, spicy kick.
- Garlic Powder: Enhances savory notes.
- Salt: Balances and intensifies the flavors.
Taking the time to craft a well-thought-out seasoning strategy ensures your dish is bursting with flavor. With this rub, you’ll create a meal that’s as impressive as it is delicious.
Step-by-Step Cooking Instructions
Achieving tender, flavorful results starts with the right cooking techniques. This guide walks you through the process, ensuring your dish turns out perfectly every time. From preheating your oven to applying a mouthwatering glaze, each step is designed to maximize flavor and texture.
Low and Slow Baking Techniques
Begin by preheating your oven to 275°F. This low temperature is ideal for breaking down connective tissue, resulting in a melt-in-your-mouth texture. While the oven heats, wrap your seasoned meat tightly in heavy-duty foil. This traps moisture, keeping it juicy throughout the cooking process.
Place the wrapped dish on a baking sheet and bake for 2.5 to 3 hours. The slow cooking method ensures the meat becomes tender without drying out. Check for doneness by inserting an instant-read thermometer; the internal temperature should reach 190°F to 200°F.
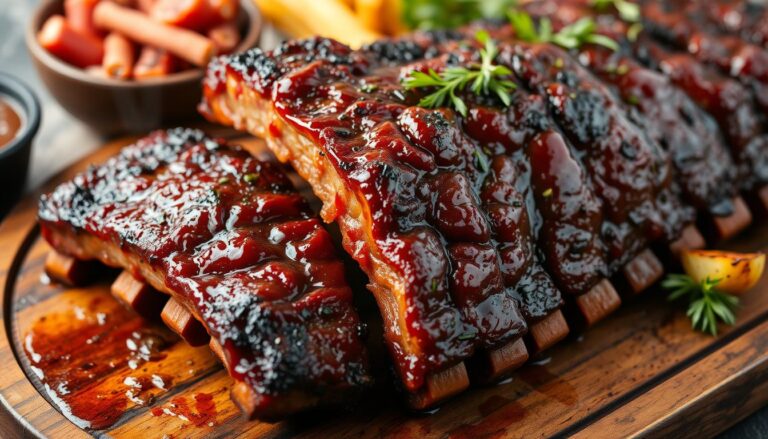
Finishing with a Delicious BBQ Glaze
Once baked, carefully unwrap the foil. Brush a generous layer of your favorite barbecue sauce over the meat. Return it to the oven, uncovered, and broil for 2-3 minutes. This step caramelizes the sauce, adding a rich, smoky flavor without burning it.
Let the dish rest for 10 minutes before serving. This allows the juices to redistribute, ensuring every bite is moist and flavorful. Pair it with your favorite sides for a complete meal that’s sure to impress.
Cooking Alternatives: Oven Versus Slow Cooker
Deciding between an oven and a slow cooker can significantly impact the outcome of your dish. Both methods have unique advantages, and understanding their differences helps you choose the best approach for your kitchen setup.
Choosing the Best Method for Your Kitchen
An oven provides precise, even heat, making it ideal for achieving a tender, juicy result. Set it to 275°F and bake for 2.5 to 3 hours. This low and slow method breaks down connective tissue, ensuring a melt-in-your-mouth texture. Wrapping the meat in foil traps moisture, enhancing flavor and tenderness.
On the other hand, a slow cooker offers hands-off convenience. Set it to low for 6-8 hours or high for 3-4 hours. This method is perfect for busy cooks who want to prepare a meal without constant monitoring. The slow cooker’s enclosed environment keeps the meat moist and infuses it with flavor.
| Aspect | Oven | Slow Cooker |
|---|---|---|
| Heat Control | Precise, even | Consistent, enclosed |
| Cook Time | 2.5-3 hours | 6-8 hours (low) |
| Convenience | Requires monitoring | Hands-off |
Both methods require careful seasoning and moisture adjustments. For the oven, use a covered roaster to retain heat and moisture. In a slow cooker, a sturdy crock pot ensures even cooking. Whichever method you choose, the result will be a flavorful, tender dish that’s sure to impress.
Tips for Achieving Tender and Juicy Ribs
Mastering the art of tender, juicy ribs requires attention to detail and a few expert techniques. Whether you’re a seasoned cook or a beginner, these tips will help you consistently create a dish that’s flavorful and satisfying.
Best Practices for Checking Doneness
Slow cooking is the key to breaking down connective tissue, resulting in a melt-in-your-mouth texture. Set your oven to 275°F and cook the meat for 2.5 to 3 hours. This low temperature ensures the meat becomes tender without drying out.
Using an instant-read thermometer is essential for verifying doneness. The internal temperature should reach between 190°F and 200°F. This ensures the meat is cooked through while retaining its juiciness.

Letting the meat rest after cooking is just as important. Allow it to sit for 10-15 minutes before serving. This allows the juices to redistribute, ensuring every bite is moist and flavorful.
Here are some additional tips to achieve consistent results:
- Monitor the edges: The edges of the meat should be slightly caramelized but not burnt.
- Avoid dryness: Wrap the meat tightly in foil during cooking to trap moisture.
- Adjust seasoning: Taste the meat before serving and add a pinch of salt or spices if needed.
| Cooking Method | Impact on Tenderness |
|---|---|
| Oven (275°F) | Breaks down connective tissue, resulting in tender meat. |
| Slow Cooker (Low) | Retains moisture, ideal for hands-off cooking. |
| Grilling (High Heat) | Adds a smoky flavor but requires careful monitoring to avoid dryness. |
By following these expert-level tips, you’ll create a dish that’s both tender and juicy every time. Small adjustments in seasoning, cooking time, and technique can make a big difference in the final result.
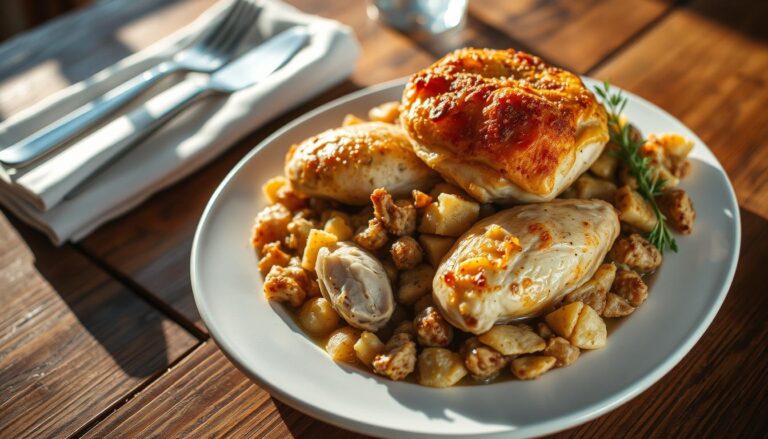
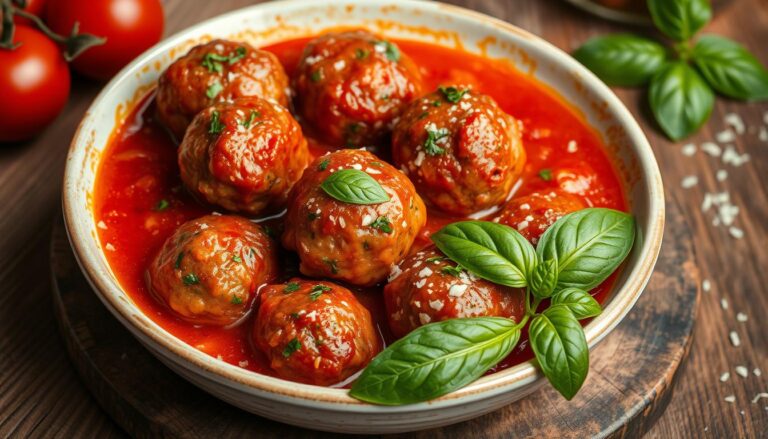
Serving Suggestions and Side Dish Pairings
The perfect meal isn’t just about the main dish—it’s about the harmony of flavors and textures on your plate. Pairing your ribs with the right sides can elevate your meal from good to unforgettable. Let’s explore creative ideas to make your dish shine.
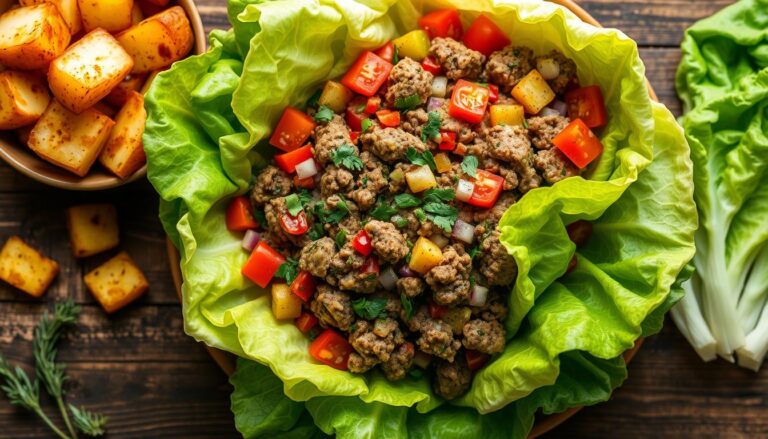
Start with hearty sides like creamy mashed potatoes or roasted vegetables. These options balance the rich flavors of the meat while adding a comforting touch. For a refreshing contrast, try a classic coleslaw or a tangy cucumber salad. These lighter sides cut through the richness, creating a well-rounded meal.
Presentation matters too. Arrange your ribs on a platter with fresh herbs like parsley or cilantro for a pop of color. A sprinkle of black pepper adds a finishing touch that enhances both flavor and appearance. For special occasions, consider individual plating with a mix of sides for a restaurant-quality feel.
Here are some tried-and-tested pairings to inspire you:
- Creamy Mashed Potatoes: A classic comfort food that complements the richness of the meat.
- Roasted Vegetables: Adds a healthy, flavorful touch to your meal.
- Classic Coleslaw: Provides a tangy crunch that balances the dish.
- Grilled Corn: A quick and easy side that’s perfect for outdoor gatherings.
Adjust serving sizes based on the occasion. For a family dinner, keep it simple with a few sides. For a backyard barbecue, offer a variety to cater to different tastes. These ideas have been tested in popular recipes and are sure to impress your guests.
Storage, Leftover, and Reheating Strategies
Properly storing and reheating your dish ensures every bite remains as delicious as the first. Whether you’re saving leftovers for later or planning ahead, these strategies will help you maintain flavor and tenderness.
Refrigeration and Freezing Tips
For short-term storage, place your cooked meat in an airtight container. Refrigerate it within two hours of cooking to maintain food safety. Leftovers can stay fresh in the fridge for up to three days. If you need to store them longer, freezing is your best option.
Wrap the meat tightly in heavy-duty foil or place it in a freezer-safe bag. Label it with the date to keep track of freshness. Frozen leftovers can last up to three months. When you’re ready to enjoy them, thaw the meat in the refrigerator overnight for even reheating.

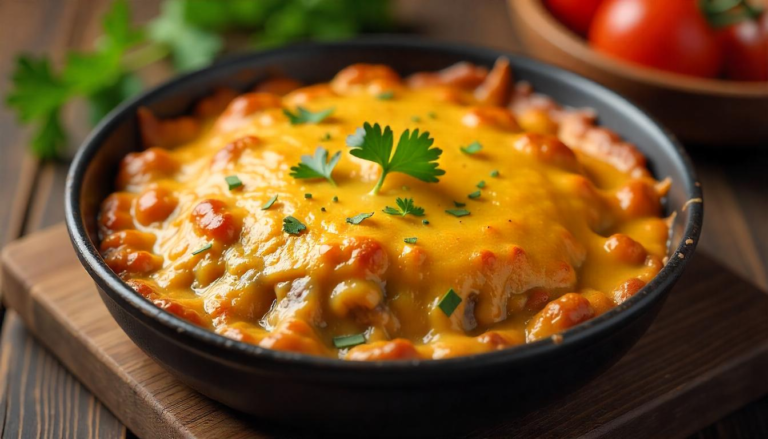
Simple Reheating Techniques for Maximum Flavor
Reheating your dish properly is key to preserving its juiciness. For the best results, use your oven or stovetop. Preheat the oven to 275°F and place the meat in a covered dish. Add a splash of water or extra BBQ sauce to keep it moist. Reheat for about 15-20 minutes, or until warmed through.
If you’re short on time, the stovetop is a quick alternative. Heat a skillet over medium-low heat and add a bit of sauce or water. Cover the pan to trap steam, which helps retain moisture. Stir occasionally for even heating.
Here’s a quick guide to reheating times:
- Oven: 15-20 minutes at 275°F.
- Stovetop: 8-10 minutes on medium-low heat.
If the meat feels dry after reheating, add a bit more sauce or broth to restore moisture. Adjust seasonings if needed to enhance the flavor. With these tips, your leftovers will taste just as good as the first serving.
Conclusion
Cooking a memorable meal is a rewarding way to bring people together. By following this guide, you’ve learned how to create tender, flavorful results using the right ingredients, equipment, and techniques. Whether you choose the oven or slow cooker, both methods offer unique advantages for your kitchen setup.
Remember, achieving perfect doneness and enhancing flavor with a finishing glaze are key steps. Proper storage and reheating strategies ensure your next dinner is just as delicious as the first. Don’t hesitate to experiment and make this dish your own.
We’d love to hear about your experiences! Share your modifications or tips in the comments below. For more insightful recipes and cooking tips, subscribe to stay updated. Your next culinary adventure is just a recipe away!